Peppa Pig cake (version 1)
Remember my GoT-loving friend for whom I made this red velvet Iron Throne cake? Well, his beautiful daughter is celebrating her birthday this weekend, and since Peppa Pig is her favorite cartoon, the cake design was kind of a no-brainer.
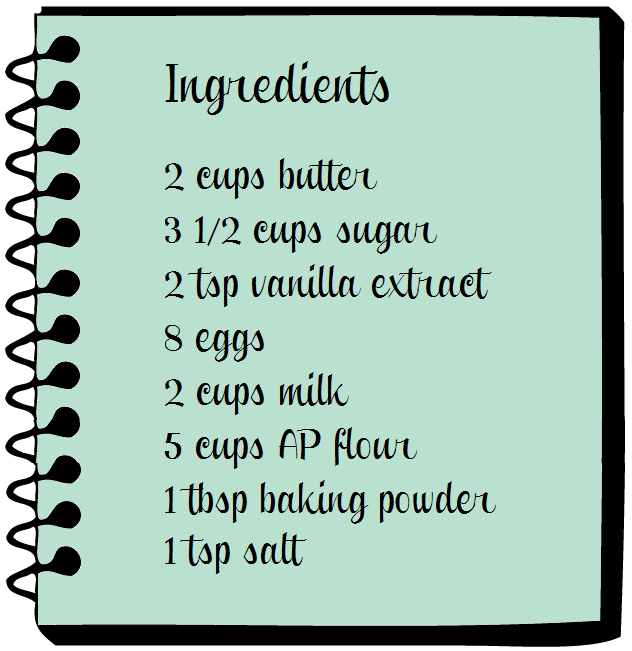
The birthday girl would be enjoying not just one, but two birthday parties – therefore there would be two versions of the cake: one for her family, and one for her classmates, both funfetti cakes filled with vanilla buttercream.
For the funfetti cake recipe, I prepared a batch of vanilla cake batter and folded in 1/4 cup of colored sprinkles. I also folded in sprinkles in the buttercream for an extra pop of color, but left the outside frosting layers plain to achieve a smooth finish on the cake.
 Cake #1 is a variation on the numerous Peppa Pig designs one can find online. Since it would be a small gathering, I went for a single tier and simple decorations:
I printed out a Peppa template and cut out the details, then used several shades of pink fondant to cut out balloon shapes. I used a large piece of pink fondant as my base, attached two cake pop sticks for support, then started gluing the balloons on both sides of the pink fondant. I attached some butcher’s twine at the bottom of a few balloons using piping gel and let the whole thing dry for a few days.
For the banner spelling the birthday girl’s name, I went about it the same way I did for my woodland creatures cake: I cut out rhombus shapes that I folded over a piece of butcher’s twine to form a triangle, glued the letters on with a bit of water and then tied the string around two pieces of wooden dowel I had previously painted pink. I pre-drilled two holes in the cake board (because the birthday girl’s name was too big to insert the dowels in the actual cake), and let it dry out completely.
When it was time to assemble the cake, I stacked, crumb-boated and final-frosted the cake layers, then covered the entire cake in white fondant. I marked the holes where the balloon contraption would be inserted at the last minute and started attaching the Peppa components onto the cake, leaving the fingers on her balloon-holding hand for last, as they would have to actually be glued over the strings hanging from the balloon topper.
When it was time to present the cake to the beautiful birthday girl, I inserted the topper and banner into the marked holes, used a bit of water to attach the fondant fingers and voilà, a simple and elegant Peppa Pig cake!

About telethonrunner
One comment on “Peppa Pig cake (version 1)”
Leave a comment

Recent Comments
| telethonrunner on Dark Unicorn cake | |
| telethonrunner on Goji berry jam | |
| bertha king on Goji berry jam | |
| telethonrunner on Old-fashioned Serano Cake | |
| Michelle J on Old-fashioned Serano Cake |

Pingback: Peppa Pig cake, take two | that baker girl